
This topic is a bit outside of our norm, but we love sharing tips,… so here goes! We all take tons of photos, but we rarely do anything with them anymore. Creating a photo book is a great way to relive special moments in our lives, and it beats sifting through hundreds of online images. Best of all, you can combine your photos with text, which is a great way to preserve stories and memories. Books can be created for specific events, such as a family vacation, or to summarize timelines, such as your children’s first years. After creating several books on Shutterfly, we’ve learned a lot and would like to pass on some of that knowledge to you. Here are Shutterfly photo book creation steps and tips using the4 Custom Path. Be sure to save your work during and after each step!
1 – Organize Photos
Before you start building your book, track down your photos and decide which ones you’d like to use. Otherwise, you’ll be constantly adjusting your photo book to make room for new pictures. You may have photos saved on your phone, social media accounts, and other sources. Also, if any pictures are too dark, use apps on your phone to lighten them up before uploading them to Shutterfly. The Shutterfly photo editing tools are great for dark images.
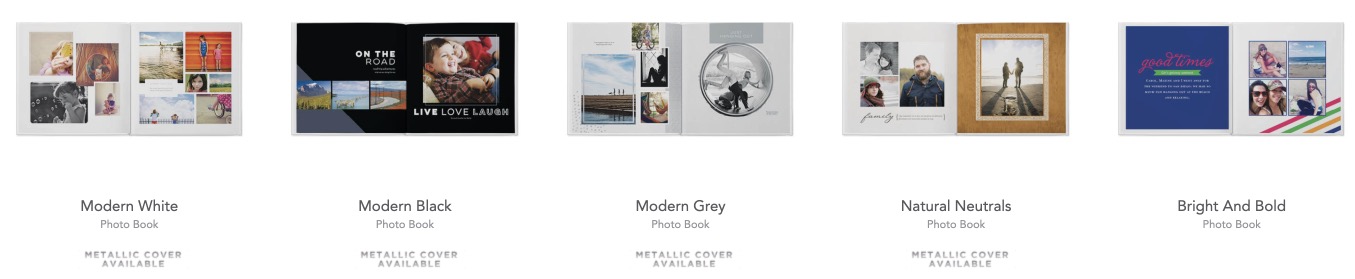
2 – Select a Style First
Shutterfly has many different photo book designs to choose from. Most cost $5-$10, which is reasonable. Before building your book, browse through the designs and select one. Review the sample book, idea pages, backgrounds, and embellishments to make sure they fit your preferences. Changing designs later can erase your customizations, which is time consuming! I made that mistake with my first book and had to spend hours reviewing and re-editing each page after swapping the style.
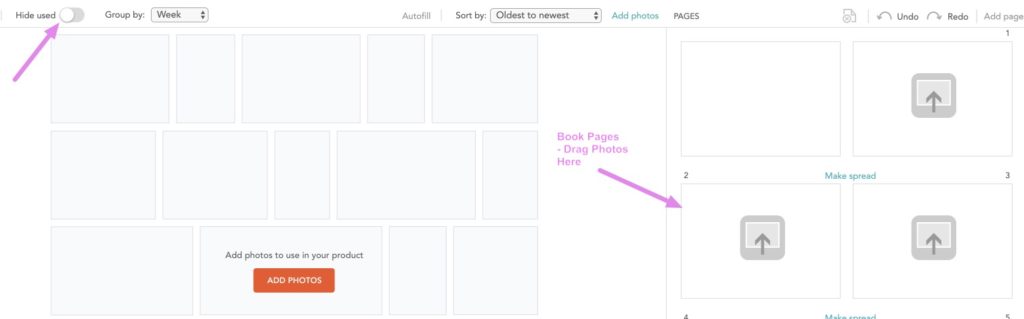
3 – Upload & Organize Images in Storyboard
Upload your images and use the storyboard feature to add them to different pages by dragging them from the left-hand side to the pages displayed in the right hand column. Select the option to “hide used” so you only see pictures that haven’t already been used. Storyboard saves a huge amount of time since it selects page layouts based on the number of photos on each page. You can always change the layout later if you don’t like them.
4 – Rearrange Pages
Although Shutterfly shows editing as the next step, I find it helpful to arrange pages first because how you styles pages may relate to which ones appear together. For example, you might have a page on the left with blue polkadots and one on the right with complimentary gray stripes (rather than another polkadot background). If you style pages first and then move them, the styles might clash and need re-designing, which takes more time. Move pages around first and you’ll avoid that extra step later.

5 – Edit Pages
Now, move on to the edit step. This allows you to preview and edit each page. You can change layouts, add text and embellishments, etc. Turn on Advanced Editing to move objects around, add stickers, embellishments, etc. This tends to be the most time consuming step but is also the most fun.

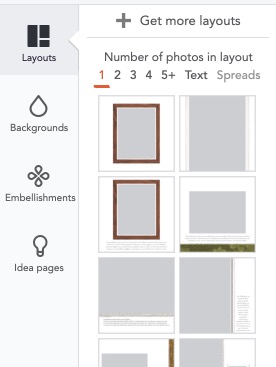
4a. Layouts
Start by selecting a page layout or idea page from the left-hand menu. You’ll want to see options based on the number of photos on the page. Both layouts and idea pages offer styled designs in addition to generic ones.
4b. Backgrounds
If you selected a stylized layout or an idea page, it may come with a specific background. You can normally change it. This can be helpful for long photo books where you use the same page layout but have different backgrounds to make them look more unique.
4c. Embellishments
Embellishments include stickers, ribbons, and frames. They are particularly helpful when using standard page layouts that don’t have pre-set design elements. In Advanced Editing mode, you can move these items around and have fun customizing each page.
5 – Review & Order
There are several final steps to complete before ordering your Shutterfly photo book.
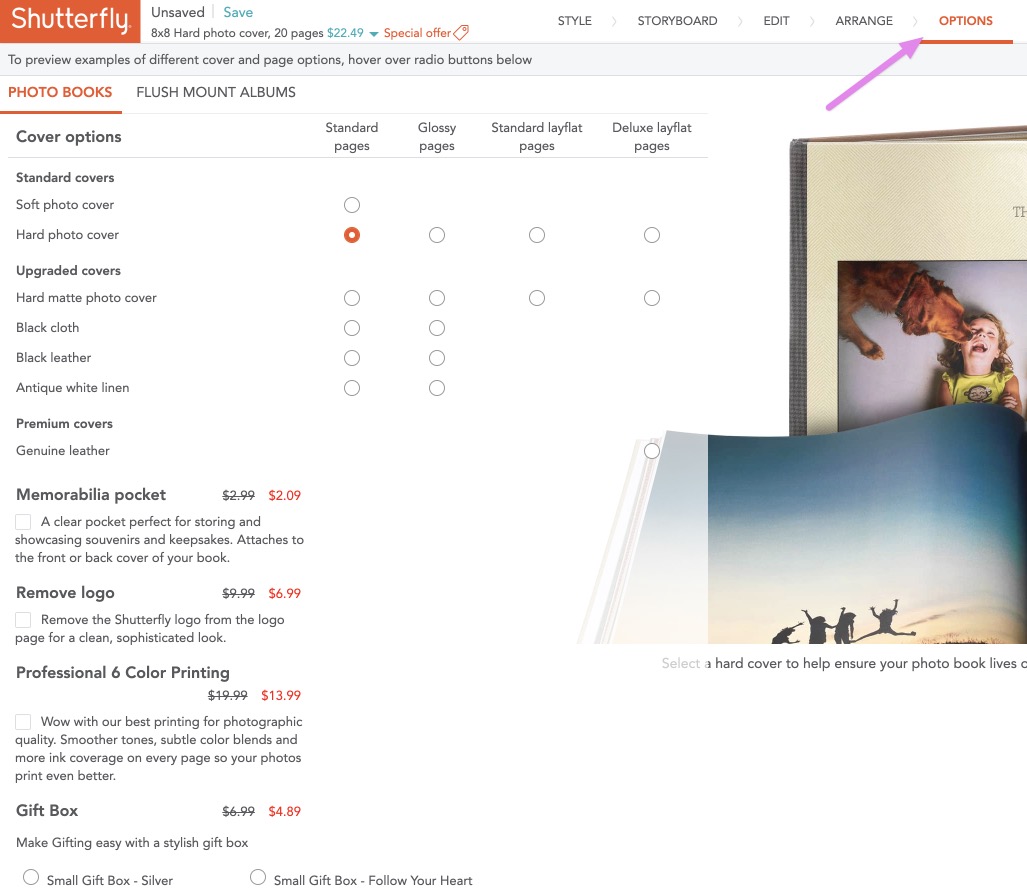
5a. Options
Select the options step to review your book selections (cover and upgrades). The price of your photo book will adjust accordingly, which you can see at the top in blue text.
5b. Preview Book
Review your book one last time! Have you forgotten anything, like adding text to the spine of the book? Are there any typos? Are images zoomed in correctly without cutting off faces?
5c. Place Your Order
The last step is to place your order. Don’t forget to search for coupons and promotions, both on the Shutterfly website and on third party sites.
Summary of Shutterfly Photo Book Creation Steps and Tips
By following the above steps and keeping these tips in mind, you can save valuable time and energy when creating photo books on the Shutterfly website. As a side note, there are many other photo book websites available. This is not an endorsement of the Shutterfly service and we do not receive anything from Shutterfly for posting this information. We are simply sharing tips and tricks that we’ve learned from first-hand experience using this particular service. Have fun creating your photo books!

